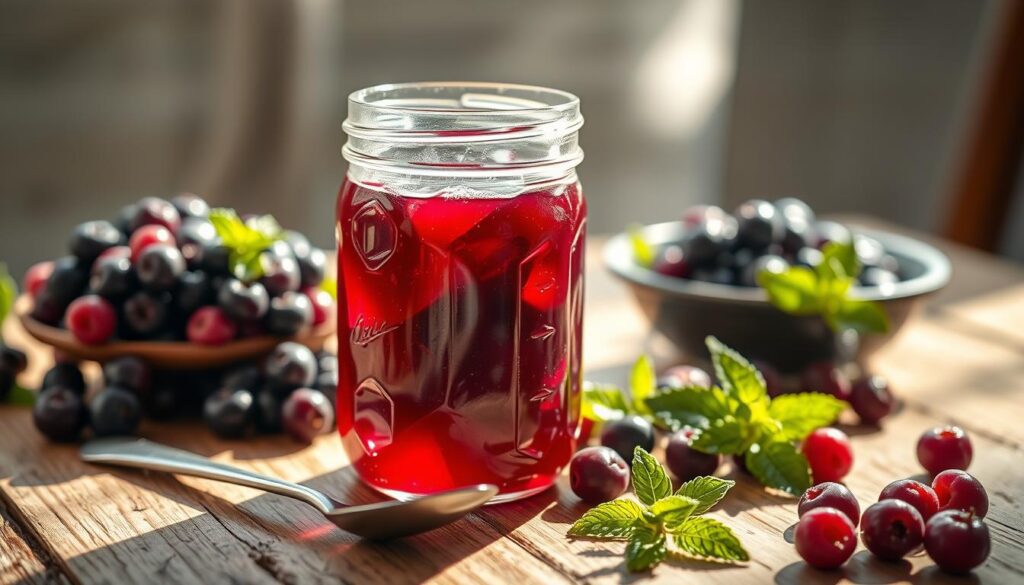
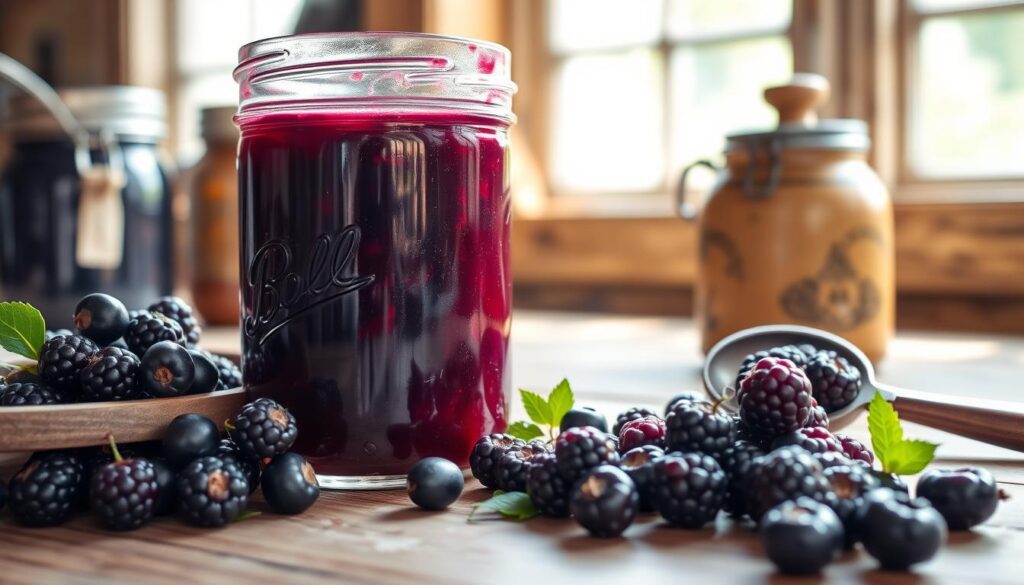
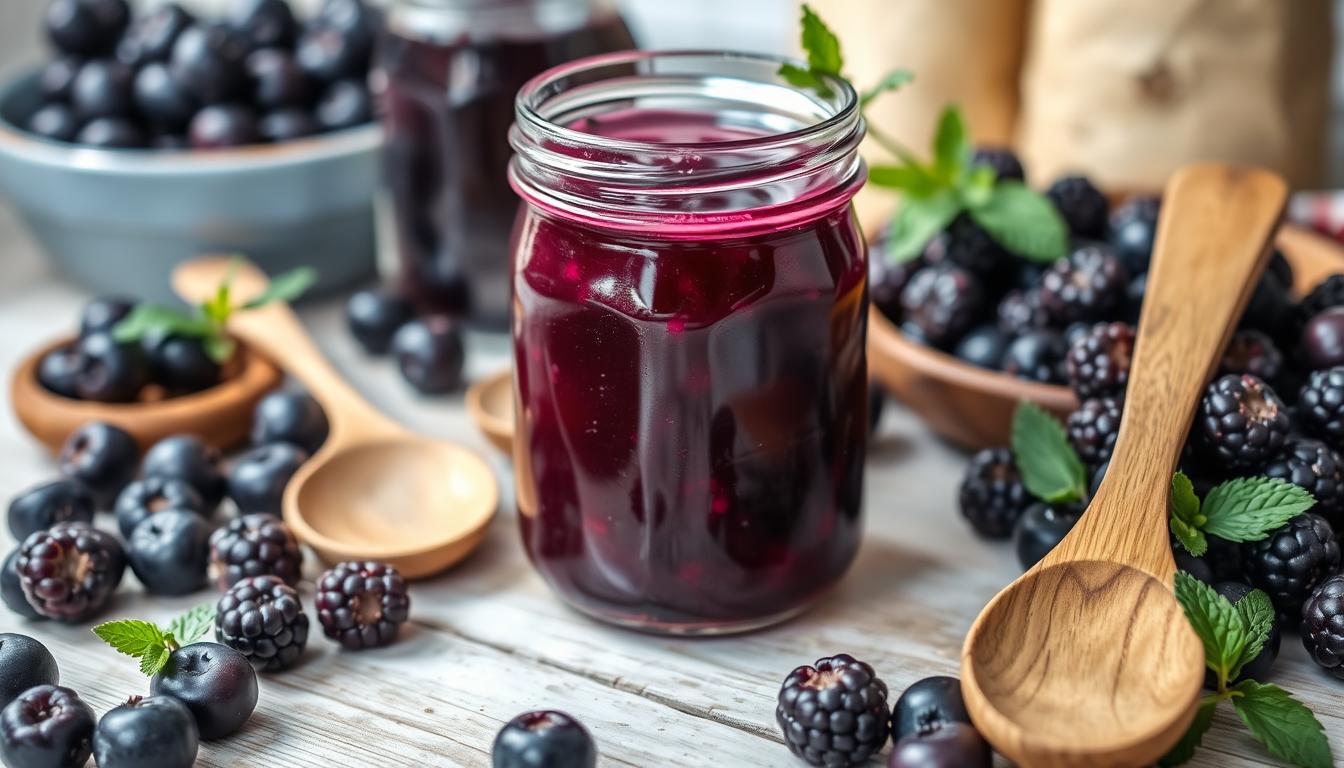
Huckleberry jelly is a mix of sweet and tart, making it a favorite homemade treat. These small berries are a mix of blueberries and blackberries, giving a unique taste. This old-fashioned recipe uses fresh or frozen huckleberries, sugar, water, and lemon juice. It creates a homemade spread that captures the Pacific Northwest’s essence.
Key Takeaways
- Huckleberries have a unique flavor profile, blending the sweetness of blueberries and the tartness of blackberries.
- This recipe yields a traditional, homemade huckleberry jelly with a vibrant color and balanced sweetness.
- Canning the jelly ensures it can be stored for up to a year, making it a delicious year-round treat.
- Huckleberry jelly can be used in a variety of ways, from topping toast and biscuits to incorporating into desserts.
- Following proper canning techniques and safety guidelines is essential for creating shelf-stable huckleberry jelly.
Introduction to Huckleberry Jelly
Huckleberries are a favorite fruit in the Pacific Northwest, known for their sweet and tangy taste. These small, dark purple or blue berries grow in forests. Making grandma’s huckleberry conserve or wild huckleberry preserve lets you enjoy this local treat and share it with family.
What Are Huckleberries?
Huckleberries taste more intense than blueberries. They grow best in the Northwest’s high, acidic soils. Foraging for them is a fun summer activity for many families.
Why Make Jelly at Home?
- Control over ingredients: Making jelly at home means you can pick the best wild huckleberry preserve and avoid additives.
- Freshness and flavor: Homemade grandma’s huckleberry conserve tastes amazing, capturing the berries’ peak flavor.
- Tradition and personal touch: Jelly making is a tradition passed down through generations. It’s a way to connect with your culinary roots.
Whether you’re experienced or new to jelly making, turning wild huckleberry preserve into jelly is rewarding. Explore huckleberry jelly and enjoy the Pacific Northwest’s flavors in your kitchen.
Ingredients You’ll Need
Making a classic huckleberry jelly is simple with just a few ingredients. At the center are the fresh huckleberries. You’ll need about 4 cups of these juicy berries to start. To balance their tartness, use 4 cups of sugar and 3 tablespoons of powdered fruit pectin. Add a tablespoon of lemon juice for extra flavor.
This retro huckleberry jelly making is a labor of love. But the homemade treat it creates is worth every effort. With basic kitchen items, you can make a Pacific Northwest treat in every spoonful.
Fresh Huckleberries
Huckleberries are smaller and tart, with a flavor between blueberries and blackberries. These wild berries are hard to grow, making them special. Choose plump, unblemished huckleberries that are dark purple, blue, or bright red.
Sugar and Pectin
Sugar balances the tartness of huckleberries and helps achieve the jelly’s consistency. Powdered fruit pectin is key for turning the berry mix into a spreadable jelly.
Additional Flavorings
Lemon juice enhances the huckleberries’ flavor, adding a sweet and tart balance. You can also try other spices or extracts to make your retro huckleberry jelly making unique.
“Huckleberries are a true taste of the Pacific Northwest, and making your own homemade jelly is a wonderfully rewarding experience.” – Jenna, Avid Jelly Maker
Preparing the Huckleberries
Before you can make your homemade old fashioned huckleberry jelly recipe or homemade huckleberry jam, you need to prepare the huckleberries. This involves a few simple steps. These steps will help your jelly or jam turn out perfectly.
Washing and Sorting
First, rinse the huckleberries under cool, running water. Then, sort through the berries. Remove any stems, leaves, or damaged pieces. It’s crucial to use clean, fresh huckleberries for the best taste and texture.
Crushing the Berries
After washing and sorting, crush the huckleberries. This step releases the natural juices, making a smooth jelly or jam. Use a potato masher or the back of a spoon to crush them gently. Aim for a coarse, lightly crushed texture.
| Ingredient | Amount |
|---|---|
| Fresh Huckleberries | 4 cups |
| Sugar | 4 cups |
| Lemon Juice | 1/4 cup |
| Powdered Pectin | 1 packet (1.75 oz) |
| Water | 1/2 cup |
Remember, preparing the huckleberries right is key to a successful old fashioned huckleberry jelly recipe or homemade huckleberry jam. With a little care and attention, you’ll make a delicious homemade treat.
Making the Jelly
Making your own huckleberry preserves or huckleberry spread at home is rewarding. It involves cooking the mixture carefully and testing it for doneness. Then, you jar the final product.
Cooking the Mixture
Begin by mixing fresh huckleberries, sugar, and water in a heavy saucepan. Heat it until boiling, then lower the heat. Let it simmer for 3-4 minutes, stirring now and then.
After that, add pectin and lemon juice. Simmer for another 1-2 minutes.
Testing for Doneness
To check if your jelly is ready, use the cold plate test. Put a small amount of hot jelly on a chilled plate. Let it cool a bit.
Gently push the jelly with your finger. If it wrinkles or forms a skin, it’s done. Now, it’s time to jar it.
Jarring the Jelly
Ladle the hot jelly into sterilized glass jars, leaving a 1/2 inch of space at the top. Clean the rims, then seal the jars. This homemade jelly is perfect for toast, biscuits, or desserts.
Canning Techniques
Preserving your homemade huckleberry jelly lets you enjoy its flavors all year. You can use water bath canning or pressure canning. Each method has its own benefits, so let’s explore them.
Water Bath Canning for Huckleberry Jelly
Water bath canning is easy and works well for retro huckleberry jelly making. Fill your sterilized jars, then put them in boiling water for 5 minutes. This seals the jars, keeping them fresh. Check the lids after 24 hours to make sure they’re sealed.
Pressure Canning Huckleberry Jelly
Pressure canning adds an extra safety step for your classic huckleberry canning recipe. It uses high temperatures and pressure to kill bacteria. Always follow the maker’s instructions and adjust times based on your location.
Safety Tips for Canning Huckleberry Jelly
- Use clean, sterilized jars and new lids to avoid contamination.
- Keep your work area clean and wash your hands well.
- Stick to the recommended times and methods for safe huckleberry jelly.
- Store your jelly in a cool, dark spot for the best taste and shelf life.
By using these canning methods, you can enjoy your homemade huckleberry jelly for months. Happy canning!
Storage Tips for Huckleberry Jelly
Storing your homemade huckleberry jam or grandma’s huckleberry conserve right is key. It keeps the taste and texture fresh. Follow these tips to keep your huckleberry jelly tasty for months.
Cool and Dark Places
Store your sealed jars of huckleberry jelly in a cool, dark spot. A pantry or cellar works well. Don’t let sunlight hit the jars, as it can spoil the jelly faster. Keep the temperature between 50-70°F for the best results.
Shelf Life Expectations
Your homemade huckleberry jelly can last up to 1 year in a cool, dark spot. But, for the best taste and texture, use it within 6-12 months. Once you open a jar, keep it in the fridge and use it in 3 weeks.
For even longer storage, freeze your huckleberry jam or conserve. Frozen jelly stays fresh for up to 1 year, keeping its taste and color bright.
| Storage Method | Shelf Life |
|---|---|
| Sealed Jars (Cool, Dark Place) | Up to 1 year |
| Opened Jars (Refrigerated) | 3 weeks |
| Frozen Jelly | Up to 1 year |
By following these storage tips, you can enjoy your homemade huckleberry jam or grandma’s huckleberry conserve for months. Enjoy the summer flavors all year!

Creative Uses for Huckleberry Jelly
Ah, the versatile and delectable wild huckleberry preserve! This homemade old fashioned huckleberry jelly recipe isn’t just for smearing on toast or biscuits. It’s a culinary chameleon that can elevate a variety of dishes. Let’s explore some inventive ways to savor this sweet and flavorful jelly.
Topping for Toast and Biscuits
The classic pairing! Spread a generous spoonful of huckleberry jelly over warm, freshly baked toast or fluffy homemade biscuits. The vibrant purple-blue hue and burst of berry flavor will start your day on a delightful note.
Ingredient in Desserts
Huckleberry jelly is a natural fit for all sorts of sweet treats. Swirl it into yogurt or oatmeal for a morning boost, or use it as a filling for cakes, pastries, and hand pies. It also makes an elegant glaze for pound cakes or a decadent topping for cheesecake.
| Dessert Idea | How to Use Huckleberry Jelly |
|---|---|
| Huckleberry Swirl Cheesecake | Dollop spoonfuls of jelly over the cheesecake batter before baking, then swirl with a knife for a beautiful marbled effect. |
| Huckleberry Glazed Pound Cake | Brush warm pound cake with melted huckleberry jelly for a shiny, jewel-toned finish. |
| Huckleberry Hand Pies | Spoon a tablespoon of jelly into the center of pie dough rounds before sealing and baking. |
With its bold flavor and stunning color, huckleberry jelly is a versatile ingredient. It can lend a special touch to both savory and sweet dishes. Get creative and let your taste buds explore the delightful possibilities!
Troubleshooting Common Issues
Making the perfect traditional huckleberry preserves or homemade huckleberry jam can be tricky. But don’t worry, you can fix common problems. This way, you can enjoy the sweet, tangy taste of your homemade jam.
Jelly Not Setting
If your huckleberry jelly isn’t gel-like, it’s okay. This issue can be fixed by adding more pectin. Just follow the pectin package’s instructions. Add a bit more than the recipe says, and cook until it’s thick enough.
Overly Sweet or Tart
Getting the sweetness and tartness right is key for a great huckleberry jam. If it’s too sweet, add a bit more lemon juice. If it’s too tart, add a little sugar until it’s just right.
Remember, the right mix of ingredients and cooking time are important. With practice and patience, you’ll make perfect jam every time.

Conclusion and Enjoying Your Huckleberry Jelly
As you enjoy your homemade huckleberry spread, think about the tradition of preserving. This recipe shows the patience and care in making a top-notch jelly.
Share with Friends and Family
Don’t keep your homemade jelly to yourself. Share it with friends and family as a thoughtful gift. They’ll love the flavor, a true taste of the Pacific Northwest.
Enjoy Your Homemade Creation!
Use your jelly on toast, in yogurt, or on baked goods. Enjoy every bite of your homemade jelly. You’ve made a special treat to enjoy again and again.
Try making these at home and explore more delicious dessert recipes on our dessert category.

